

Much of the gaming content we see today is live-streamed, but that is by no means the only way we can create quality content. Pre-recorded and edited video content (Video on Demand, or VOD for short) is just as popular a medium for creators who are looking to share their content. Youtube is a fantastic platform and the birthplace of gaming VOD content, but Facebook Gaming offers equal support for VOD content alongside live-streamed content. So as a part of our How To series on Facebook Gaming, here is how to upload VOD content to your FB Gaming page!
Step 1 – Video Details
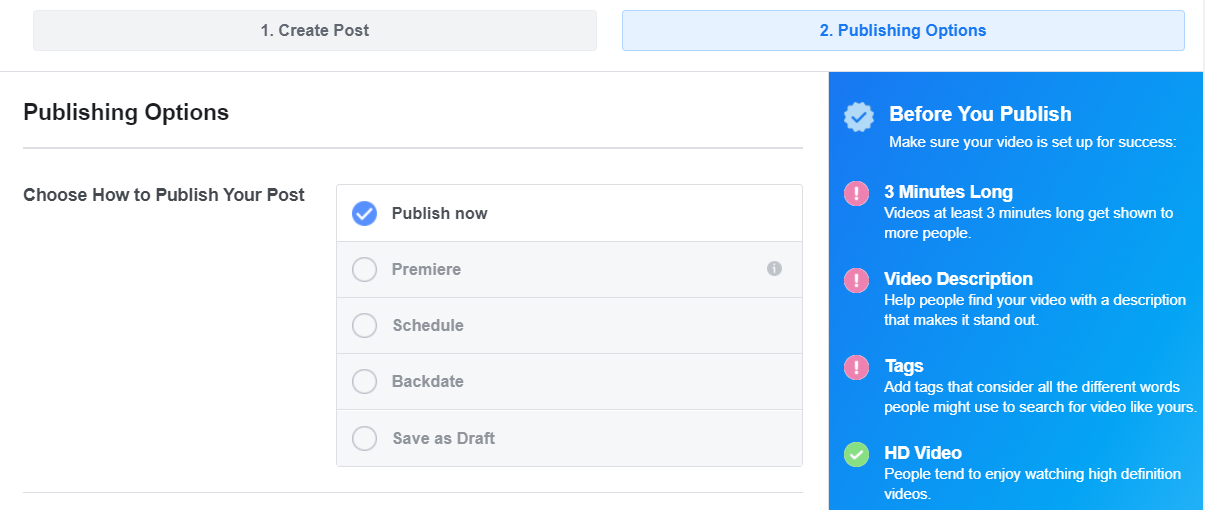
For uploading VOD content, Facebook Creator Studio is your best friend. Facebook Creator Studio is your hub for uploading and managing content. Once you’ve recorded your video and gone through your editing process, cross-reference the details with Facebook best practices: Minimum 3 minutes, videos 7-10 minutes long for monetization and ad insertion. For aspect ratio, portrait or square is recommended to accommodate mobile users.

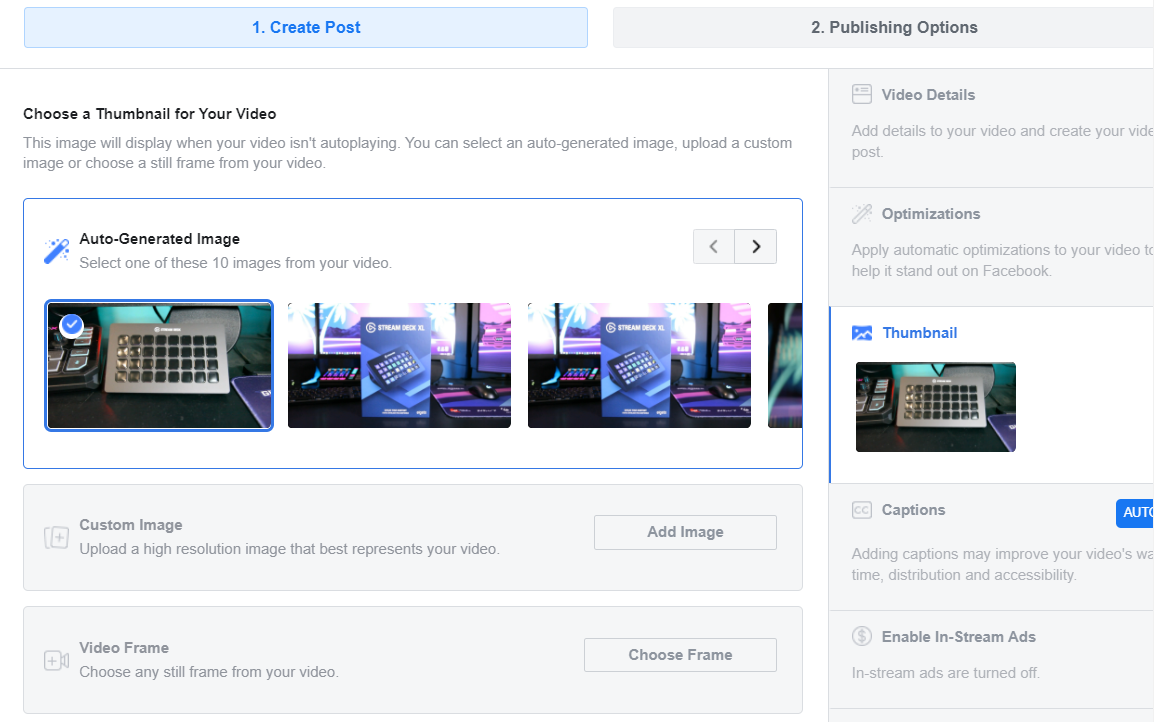
Step 2 – Adding Your Thumbnail
Your thumbnail is a key component of any uploaded video, acting as a face of the content within and doing everything it can to summarise the narrative and tone of your video. Make it pop, make sure it stands out in the feed of the viewer, make it enticing and make the viewer want to know more about the content. Again, keep mobile users in mind.

Step 3 – Captions
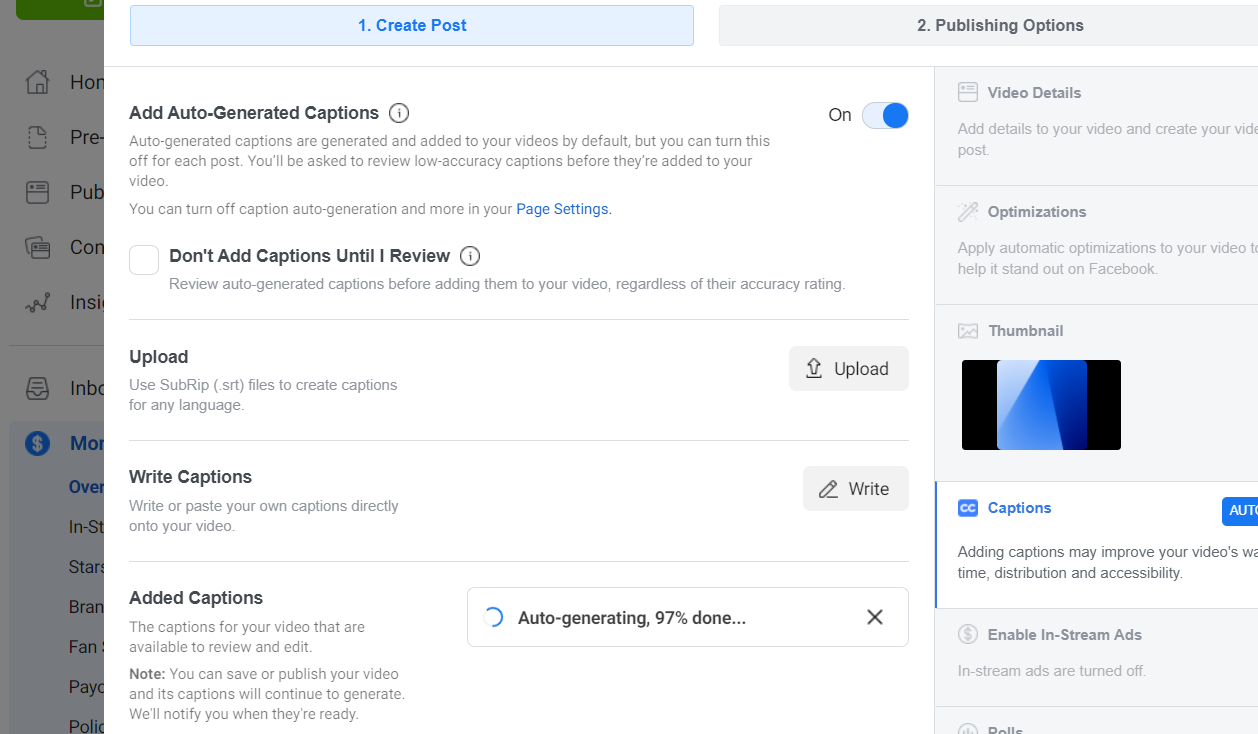
Captions are very important for the accessibility of your video, you may prefer to edit in your own captions when preparing the video which can aid in developing your brand and engaging users, but mobile users scrolling on silent mode will autoplay videos silently. Automatic captions (can be switched on while publishing in creator studio) is a safe route, alternatively, you can upload your own SRT file for custom captions in case your dialogue is difficult for the caption AI to interpret. Be sure to review auto-captions to ensure there are no points of confusion.
Step 4 – Publishing, Playlists and Series
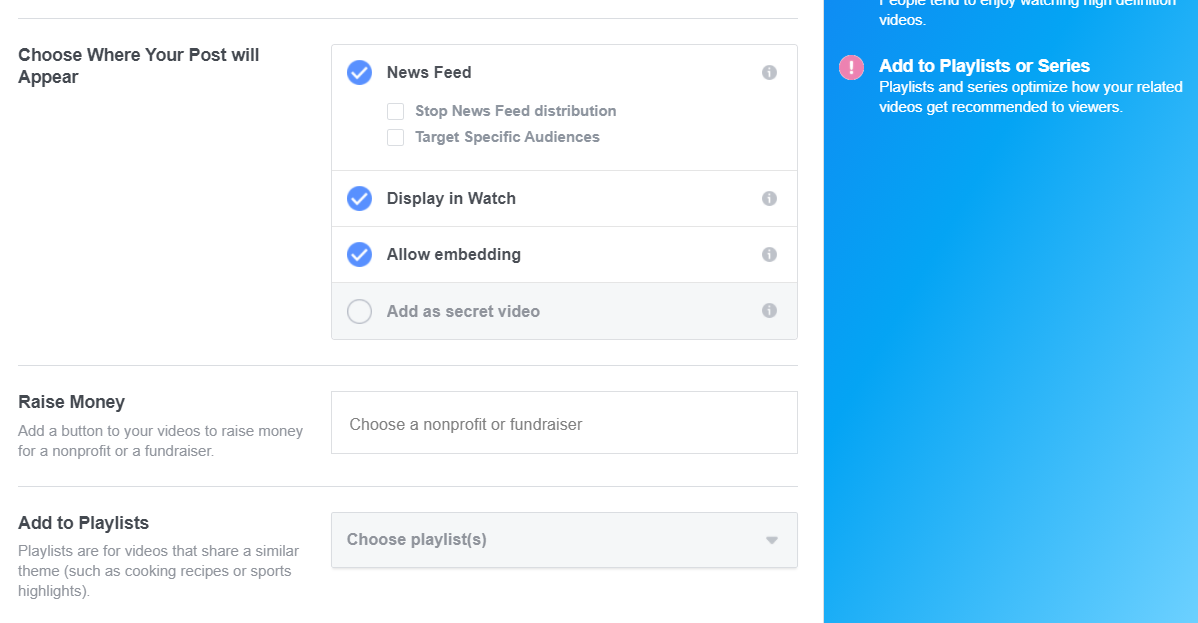
When organising your content and ensuring everything is readily accessible for users, you can select videos in your content library or while publishing to be a part of select playlists. This playlist help organise your content by particular themes and allow users to browse through the entirety of your content and get the complete experience. If you are uploading Lets Play content it allows you to organise a complete series of the game for your viewers.

Step 5 – Other Best Practices
After uploading your first VOD, it’s best to take a look at recommended best practices to ensure your content flow is optimised to all audiences, current and potential, as well as organising your content so everything is laid out to support easy and efficient access. When uploading content, use tags as a sort of filing system to organise your content. Upload polls to your page and streams to see what your viewers would like to see in future content and better optimise your content plan.
This is all the major information we can offer to help you start uploading VOD content, enjoy the platform and good luck!


