

So, you’ve come to Facebook Gaming, maybe in search of a new audience or to try something different. Maybe you’re just curious about the platform, or just getting started with streaming as a whole. Either way, you’ve come to the right place. Facebook Gaming is the perfect platform for modern, accessible streaming, for veteran creators and fresh faces alike. In this guide, we’ll cover what you need to do to get set up for your first Facebook Gaming stream!
Step 1 – Creating a Facebook Page
First things first, you need a Facebook Page! Part of content creation is running your own personal brand, so choose your profile details carefully to give an accurate depiction of you and your content that will attract views!
Ensure that your Page type is set as “Gaming Video Creator” – this will arrange the default tabs and content sections of your Page to be most appealing.
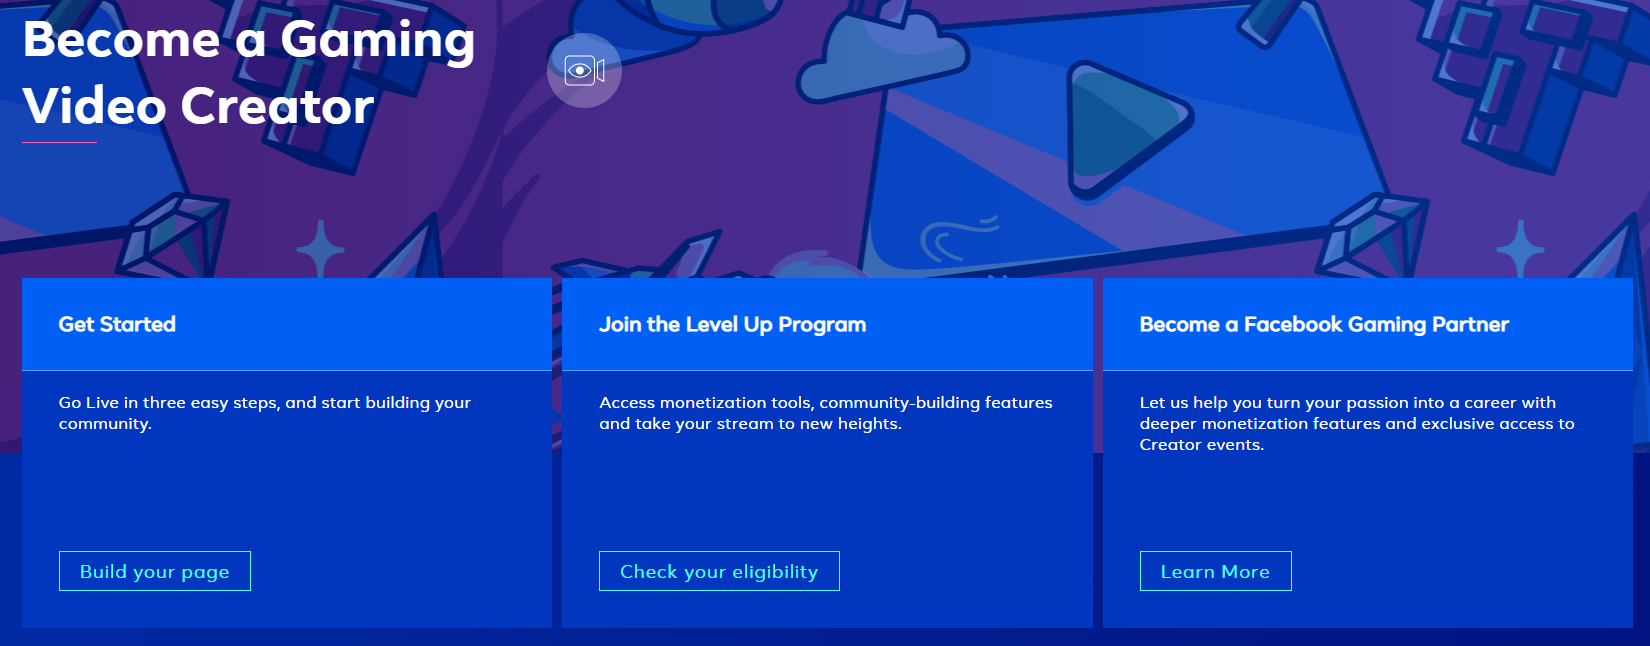
Getting started and building your page is an exciting step
Step 2 – Download + Setup OBS (or your stream encoder or choice)
Once your Page is set up, you’ll need a stream encoder, there are a wide variety of options available that work differently for each gaming platform, so take the time to do some good research on what works best for your platform and is within your budget! A universally recommended choice is OBS Studio, which has complete features, a simple interface and a setup guide.
We recommend Obs.Live as a streaming service.

Step 3 – Setup Creator Studio
Once your profile and encoder are ready to go, get familiar with Facebook Creator Studio. This is the center of your activity, where you can manage posting and streams on your Facebook Gaming Page. In Creator Studio, start by creating a live stream by ‘go live‘, copy your stream key/server url into your chosen software and review the details. We recommend launching a test broadcast to ensure everything is working smoothly, this will be visible only to admins and editors of your Page so you won’t have any viewers whilst you build your confidence before going live.


Step 4 – Start Your Test Stream + Cross Promote
Consider starting your stream with a placeholder screen for minimum 3 minutes, this will give your viewers time to settle in and will encourage the Facebook algorithm to promote your video on Facebook watch. But keep your audience engaged with a countdown clock, a poll or a question for the comments. Don’t forget to share on your other social platforms that you are about to go live. And you’re off and running! Go you!

Step 5 – You’re Live!
Once things are underway, keep an eye on the chat and stay engaged with your audience and their comments, streams go both ways, hold their attention and you hold their view, the better your engagement the better your stream will perform, and the better it performs the more it will be promoted by the Facebook algorithm.
Good luck and enjoy the stream!


